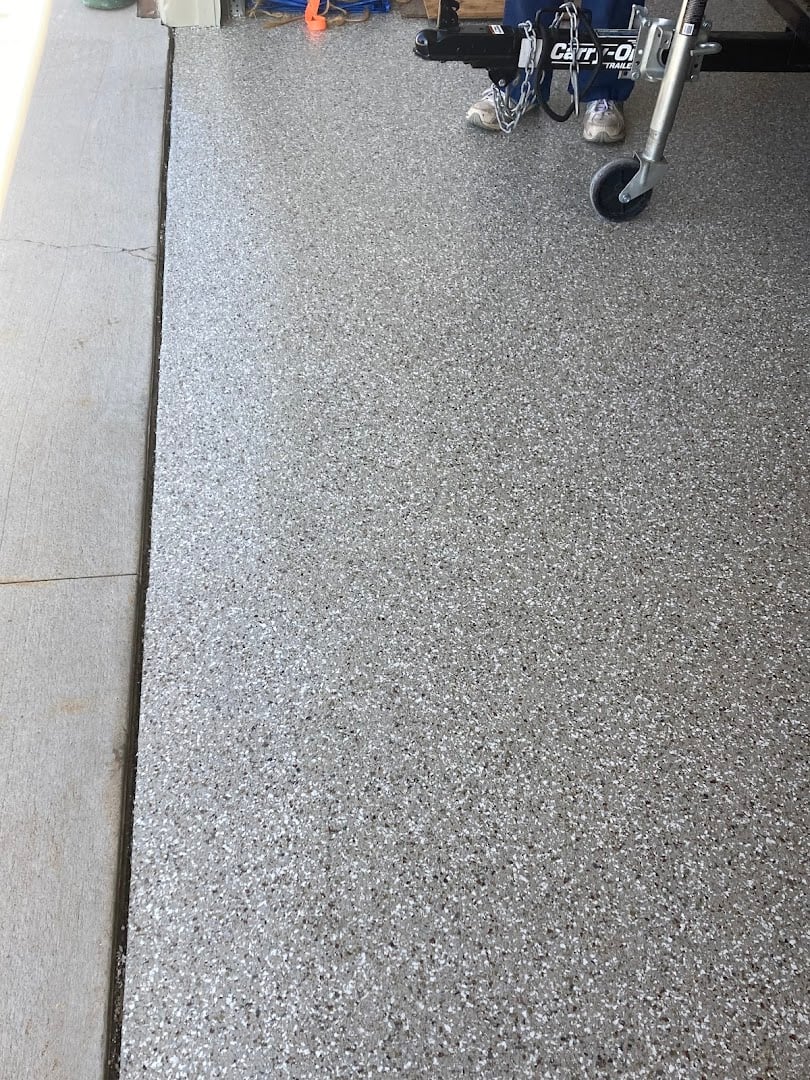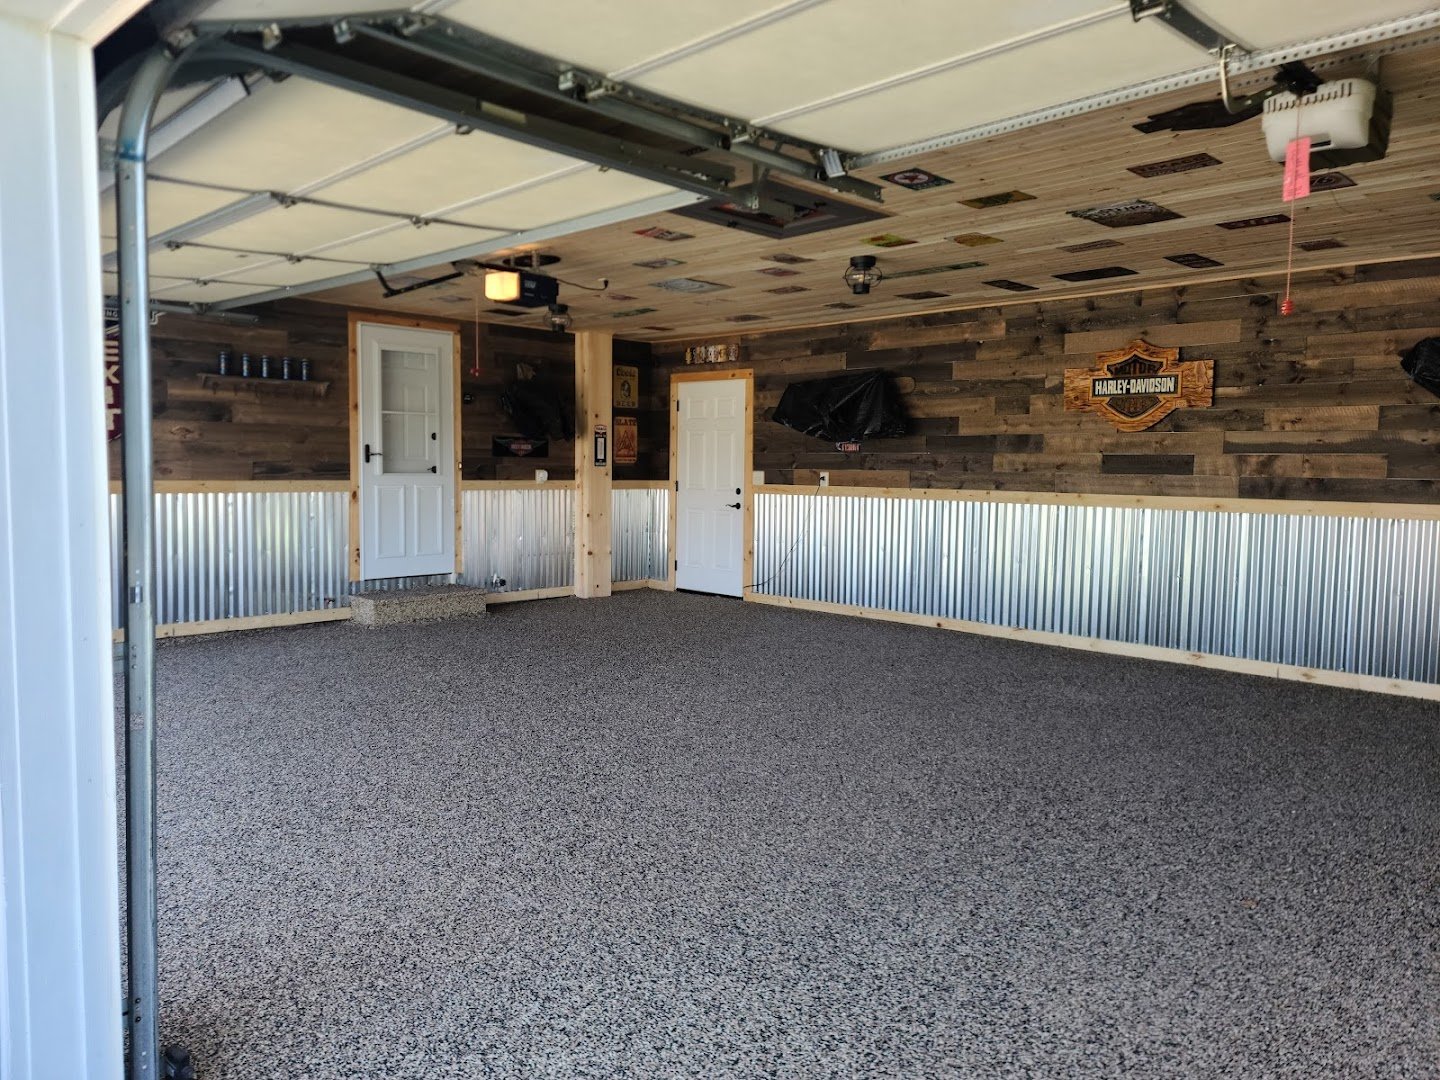

Quick Answer: Proper preparation is the most important step before applying basement floor coatings. In Oshkosh, WI, that means addressing moisture, cracks, and surface contaminants before a professional crew arrives. Skip prep, and even the best coating will peel, bubble, or fail within months.
Key Takeaways:
- Moisture testing and crack repair are non-negotiable before any basement floor coating is applied
- Surface contamination—oil, grease, paint—must be fully removed for the coating to bond properly
- Homeowners in Oshkosh, WI should work with a professional like Legacy Concrete Coatings to ensure every prep step meets manufacturer standards
A freshly coated basement floor looks incredible. It's durable, easy to clean, and transforms a dull concrete slab into a surface that actually adds value to your home. But here's the thing most homeowners don't realize until it's too late: the coating itself is only as good as the preparation underneath it.
Skipping or rushing the prep phase is the number one reason basement floor coatings fail. Bubbling, peeling, and delamination—these aren't signs of a bad product. They're signs of a floor that wasn't ready. Whether you're planning a garage-style epoxy finish or a full decorative flake system, the concrete beneath it needs to be clean, dry, structurally sound, and properly profiled before a single drop of coating touches the surface.
This guide walks you through exactly what that preparation looks like—and what Legacy Concrete Coatings does to make sure your basement floor coatings in Oshkosh, WI are built to last.
Why Does Basement Floor Preparation Matter So Much?
Concrete looks solid, but it's actually porous. It absorbs moisture, oils, and contaminants over time—and those substances sit just below the surface, ready to interfere with adhesion the moment a coating is applied. A coating needs a clean, open pore structure to mechanically bond to the slab. Without it, the bond fails.
Wisconsin basements face an extra challenge: moisture. Freeze-thaw cycles, spring snowmelt, and high groundwater levels mean that basement slabs in Oshkosh, WI are regularly exposed to hydrostatic pressure. That pressure pushes moisture vapor up through the slab, and if a coating traps that moisture, it will lift off the surface from the inside out.
Getting prep right isn't just about cleaning. It's about understanding what's happening beneath the surface—and correcting it before it becomes a problem.
Step 1: Clear the Space and Inspect the Slab
Before any prep work begins, the basement needs to be completely cleared. Move out storage, appliances, and anything else sitting on the floor. This gives the crew full access to the slab and, more importantly, a chance to inspect every inch of it.
During inspection, look for:
- Cracks — hairline, structural, or settling cracks that need to be filled or stabilized
- Spalling — areas where the surface is flaking or pitting
- Previous coatings or sealers — these must be fully removed before a new coating can bond
- Stains — oil, grease, paint, and efflorescence (white mineral deposits) all require targeted treatment
Don't assume a floor is in good shape just because it looks okay from a distance. Get down close. Probe cracks with a screwdriver. Check for soft or hollow spots that could indicate a failing slab below.
Step 2: Test for Moisture—Always
This step is critical in Wisconsin basements and should never be skipped.
The most common test is the plastic sheet test: tape a 16x16 inch square of plastic sheeting to the concrete, seal all four edges, and leave it for 24–72 hours. If moisture beads on the underside of the plastic, there's active vapor transmission happening.
A more precise method is the calcium chloride test or a relative humidity probe inserted into the slab. Professional applicators like Legacy Concrete Coatings use these tools to get an accurate moisture vapor emission rate (MVER), which helps determine which coating system is appropriate for the conditions.
Some coatings require moisture levels below a specific threshold. Others—like moisture-tolerant epoxies or polyurea systems—can handle higher vapor transmission. Knowing your numbers before you start means choosing the right product for your specific slab, not just the most popular one.
Step 3: Repair Cracks and Surface Defects
Once moisture levels are assessed, structural issues come next. Cracks should be filled with a polyurethane or epoxy injection product appropriate for the crack type. Active cracks—ones that are still moving due to settling or thermal expansion—require a flexible filler that won't re-crack under stress. Dormant cracks can be filled with rigid materials.
Spalled or pitted areas need to be patched with a cementitious repair mortar or skim coat, then ground flush with the surrounding surface. The goal is a consistent, even plane. Coating a slab with low spots or raised edges creates an uneven finish and potential failure points.
Step 4: Remove Contaminants from the Surface
Oil and grease don't just sit on top of concrete—they penetrate into it. Degreasers need time to break down these compounds, and in heavy contamination cases, multiple applications may be necessary. After degreasing, the area should be scrubbed and rinsed thoroughly.
Paint, old sealers, and adhesive residues are removed mechanically—typically by grinding or shot blasting. Chemical strippers can be used in some cases, but mechanical removal is more reliable and leaves a better surface profile.
Efflorescence (the white, chalky mineral deposits that appear on basement walls and floors) is treated with a mild acid wash, then neutralized and rinsed clean.
Step 5: Profile the Concrete Surface
Adhesion depends on surface profile. Smooth, troweled concrete doesn't give a coating enough texture to grip. The industry standard for most floor coatings is a Concrete Surface Profile (CSP) of 3–4, which feels similar to 80-grit sandpaper.
Achieving this profile requires mechanical preparation—usually diamond grinding or shot blasting. Shot blasting uses steel pellets propelled at high speed to abrade the surface uniformly and consistently. Diamond grinding is better suited to areas near walls and columns where a blaster can't reach.
This step is where professional equipment makes a significant difference. Consumer-grade grinders and rental tools often lack the power to achieve a consistent CSP across a full basement floor. Legacy Concrete Coatings uses commercial-grade equipment to ensure the entire surface is properly profiled—not just the easy sections in the middle.
Step 6: Final Cleaning Before Coating
After grinding or blasting, the floor is covered in concrete dust. All of it needs to go. Industrial vacuums capture the bulk of the debris, followed by a thorough wipe-down to remove any remaining fine particles. Even a thin layer of dust between the slab and the coating is enough to compromise adhesion.
At this stage, the floor should look uniform, feel slightly rough like sandpaper, and be completely dry. Now—and only now—is it ready for coating.
What Happens If You Skip These Steps?
The failure mode is predictable. A coating applied over a contaminated, smooth, or damp surface may look fine for a few weeks. Then bubbles appear. Then sections start lifting. Within a year, you're pulling up a failed coating and starting over—this time paying for removal on top of everything else.
Done correctly, basement floor coatings applied over a properly prepared surface can last 20+ years with minimal maintenance. The preparation isn't the glamorous part of the project, but it's where the real value is created.
Trust Legacy Concrete Coatings for Basement Floor Coatings in Oshkosh, WI
Every floor is different. Slab age, moisture conditions, previous treatments, and the homeowner's end goals all factor into what preparation approach makes the most sense. Legacy Concrete Coatings handles every step of the process—from initial assessment through final application—so nothing gets missed and nothing gets rushed.
If you're ready to invest in a basement floor that actually holds up, start with a consultation. Legacy Concrete Coatings serves homeowners throughout Oshkosh, WI and the surrounding area.
Frequently Asked Questions
How long does basement floor prep take before coating can be applied?
For most residential basements, surface preparation takes one to two days depending on the condition of the slab, moisture levels, and the extent of crack repairs needed. Moisture testing alone requires 24–72 hours. Rushing this timeline is the most common cause of coating failure.
Can I prep my basement floor myself before a professional coats it?
Some homeowners handle basic cleaning and crack filling, but mechanical surface profiling—grinding or shot blasting—requires professional-grade equipment. Inadequate profiling is a primary reason DIY prep leads to professional coating failures. Most professional applicators prefer to handle the full process to ensure quality control.
What is the best type of coating for a basement floor in Oshkosh, WI?
It depends on your moisture levels and intended use. Polyurea and polyaspartic coatings are popular in Wisconsin because they cure faster and tolerate temperature fluctuations better than standard epoxy. A professional assessment of your specific slab conditions will point you to the right system.
How do I know if my basement floor has too much moisture for coating?
Signs include white efflorescence deposits, damp spots after rain, or a musty smell. A plastic sheet test or professional calcium chloride test will give you a clear answer. Legacy Concrete Coatings performs moisture testing as part of every project assessment.
How long do basement floor coatings last when properly applied?
A professionally applied coating over a properly prepared surface can last 15–25 years with routine maintenance. Surface preparation quality is the single biggest factor influencing coating longevity.